Easter Candy Jar Hack

-
Using a ruler, measure the size of the jar from top to bottom, leaving a small amount of room at both the top of the jar and at the very bottom of the jar.
-
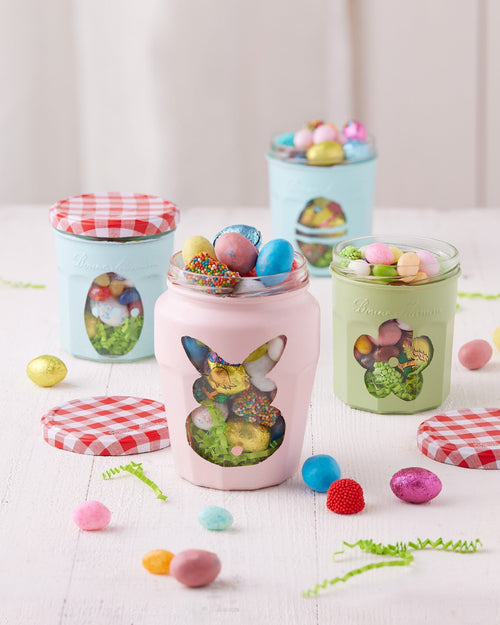
Using a sheet of contact paper and your favorite Easter-themed shape per the measured size, trace desired shape onto contact paper. The bigger the shape, the more visible your jar’s candy will be! Cut the shape out, and apply contact paper to the jar.
-
Use the tape to cover the outer-facing threads around the jar’s rim. If this step is missed, the jar’s lid will stick to the paint and will be hard to remove.
-
Once threads are covered, screw the lid onto the jar to cover the opening, making sure paint won’t get inside the jar.
-
Find a well-ventilated area, preferably outside. Cover a surface with drop cloths or plastic sheeting, and set your jar upright in the center. Spray the surface area of your jar completely, using steady, even movements until the jar is covered all around. Let dry for 10 mins. It may take up to 3 applications, leaving 10 mins to dry between each. After final application, let dry for at least 30 mins or until completely dry and not sticky.
-
Once dry, carefully remove tape and contact paper to reveal your easter design. Cover bottom with Easter grass if desired, and fill the jar with your candies of choice.
